Restaurant food photography tips for shooting on your phone
Phone food photography for restaurants and cafes: window light, the right angle for each dish, plating for camera, light editing and Instagram photo sizes.
In short
- A phone by a window will usually beat an expensive camera under restaurant downlights.
- Turn the flash off and shoot with daylight coming from the side of the dish.
- Shoot flat food from overhead, tall food straight on, and bowls and plated mains from about 45 degrees.
- Instagram keeps photos at full resolution between 1.91:1 and 3:4, so a portrait 3:4 shot uses the most space without cropping.
- Shooting every dish in the same spot with the same light edit makes your feed look like one place.
You don't need a proper camera for good restaurant food photos. Shoot by a window in daylight with the flash off, wipe the lens first, and pick the angle that suits the dish: overhead for flat plates, eye level for burgers and drinks. Plate a little tighter for the camera, edit lightly, then shoot everything the same way so your feed looks like one place.
Find the window and turn the flash off
Light makes more difference to a food photo than the phone does. Put the plate on a table next to a window, with the daylight coming from the side or slightly behind the dish, and you'll get soft highlights on sauces and shadows that give the food some shape.
Direct sun is too harsh, so if it's streaming in, tape a sheet of baking parchment or a thin white napkin over that bit of glass. Then prop a white menu card or a clean side plate on the opposite side of the dish. It bounces a bit of window light back into the shadows, which is all a photographer's reflector does.
Switch off the overhead lights near your table if you can. Warm bulbs mixed with daylight give food an odd two-tone colour that's a real faff to fix afterwards.
And the flash. Apple's guide says the iPhone camera is set to use the flash automatically when needed, so tap the Flash control and set it to Off. Flash flattens food and puts a hard glare on anything glossy. If your dining room is dark in the evening, shoot new dishes before service while there's daylight.
The same burger, two set-ups
Flash, under the downlights
- Hard shine on the bun and the sauces
- Flat, greyish colours
- A harsh shadow straight behind the plate
- Yellow bulbs and white flash fighting in one shot
Window light from the side
- Soft highlights that show texture
- True colours: green leaves, golden fries
- Gentle shadows that give the food shape
- One light source, so no colour clash
Clean the lens before every shoot
A phone that lives in an apron pocket in a kitchen picks up grease, and a greasy lens gives everything a hazy glow around the bright bits. Wipe it with a glasses cloth or a microfibre cloth (an apron corner tends to just move the grease about) before every shoot. Newer iPhones will even nag you: Apple says that on supported models the phone detects a smudged lens and suggests you clean it. It takes five seconds and it's the cheapest fix in this whole guide.
Which angle suits which dish?
Three angles cover nearly everything on a menu. Overhead shows shape and spread. Straight on, with the phone level with the plate, shows height and layers. Somewhere around 45 degrees is roughly where a diner's eyes are, so it shows the top of the food and some depth.
Which angle for which dish
| Dish | Angle | Why |
|---|---|---|
| Pizza, flatbreads, sharing boards | Overhead | The shape is the point, and toppings read clearly from above |
| Full breakfasts and brunch spreads | Overhead | Shows everything on the table and how generous it is |
| Latte art and soup | Overhead | The pattern or the swirl sits on a flat surface |
| Burgers, stacked sandwiches, layered cakes | Straight on | Height and layers only show from the side |
| Pints, cocktails, milkshakes | Straight on | Glass shape, colour and the head on a pint |
| Desserts in glasses | Straight on | You see the layers through the glass |
| Pasta, curries, bowls, salads | About 45 degrees | The top of the food plus some depth, as a diner sees it |
| Roasts and plated mains | About 45 degrees | Shows the Yorkshire's height and the whole plate together |
For overhead shots, keep the phone flat and parallel to the table, or circular plates turn into ovals. Apple's camera guide explains how to turn on a grid and level (Settings, then Camera, then Grid and Level) to help you straighten and compose. Most Android camera apps have a grid option in their settings too, though where it lives varies by phone.
Plating for the camera
The camera sees a plate differently from someone sitting at the table. It's much closer than a diner's eyes, and it notices every smear. What I'd change:
- Wipe the rim of the plate. Drips that nobody notices at the table look careless in a photo.
- Build a little height. Plated mains often look flat from above, so stack things slightly.
- Pick a plate that contrasts with the food. Dark stews look better on pale plates, and pale fish looks better on dark ones.
- Spoon sauce underneath or beside the main item so it stays visible.
- Add herbs and garnish at the very last second, because they wilt fast under heat.
- Shoot quickly. Steam and melting butter are gone within a minute or two, and a pint's head starts dropping almost straight away.
- Add a bit of life: a hand reaching in, a fork, a glass at the edge of the frame, your own tables in the background.
Keep it honest, though. The plate in the photo should be the plate a guest gets. If the photo shows a portion twice the size of what arrives, you've swapped a nice picture for a grumpy review.
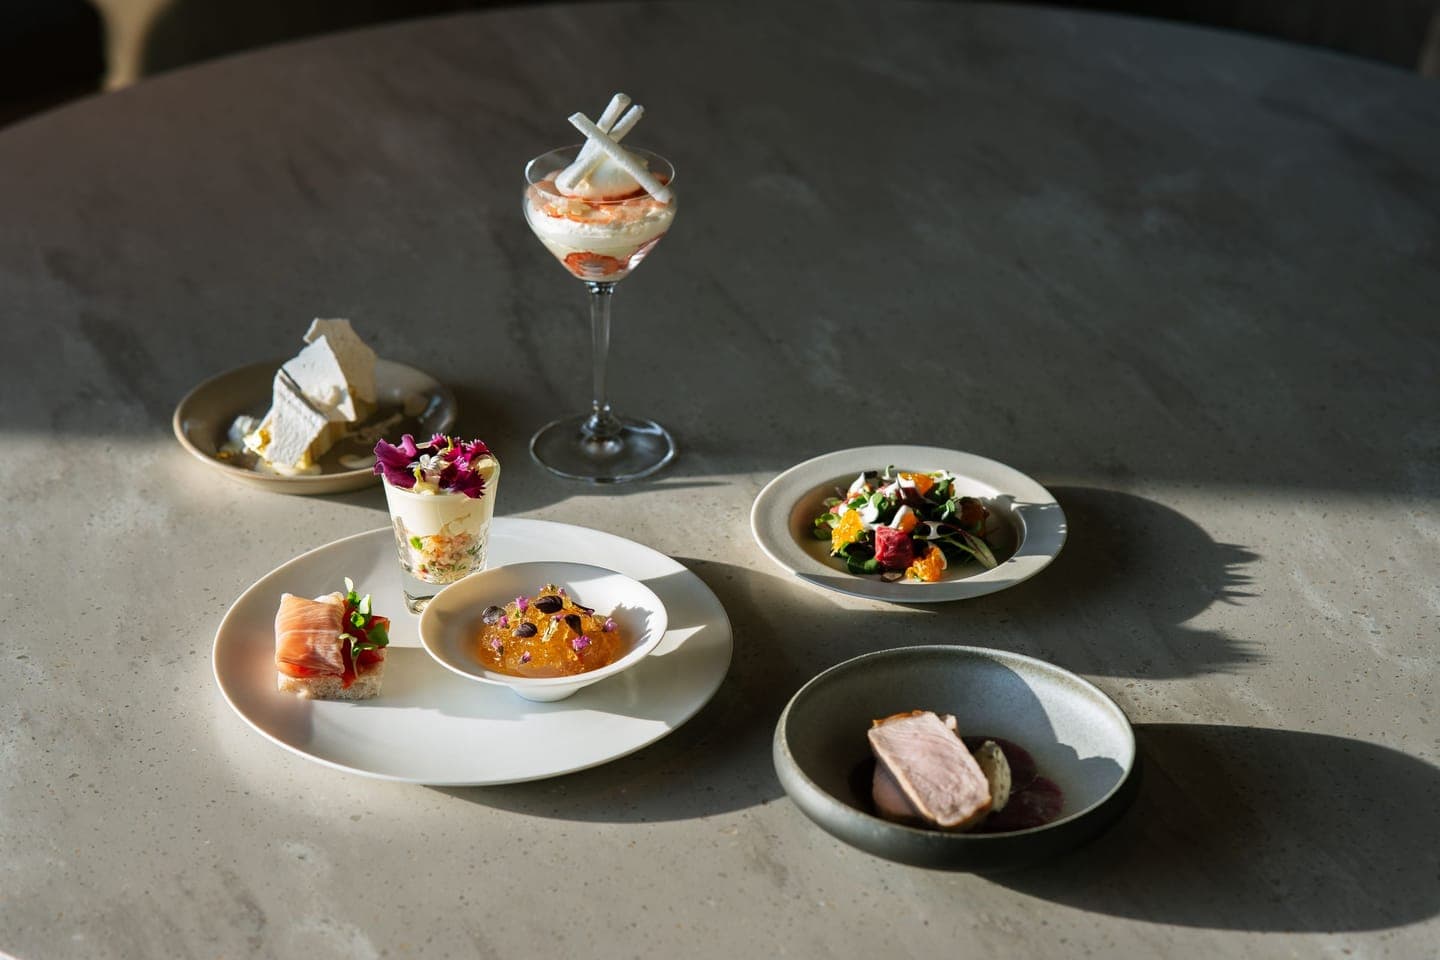
Focus, exposure and framing on your phone
Tap the screen on the bit that matters most, such as the egg yolk, the front edge of the burger or the crackling. Apple's guide says that after you tap, you can drag up or down next to the focus area to adjust exposure, and if you touch and hold until "AE/AF Lock" appears, those settings stay put for the next shots. That's handy when you're photographing several dishes in the same spot. If white plates are glaring, drag the exposure down a little.
I'd avoid pinching to zoom. Step closer, or step back and use your phone's 2x or 3x lens if it has one, which keeps round plates round and stops the front of the dish looking oversized.
Then think about shape before you shoot. Instagram's help centre says it keeps a photo at its original resolution (up to 1,080 pixels wide) if its aspect ratio is between 1.91:1 and 3:4, which works out at 566 to 1,440 pixels tall at full width. Photos outside that range get cropped. The iPhone camera offers 1:1, 4:3 and 16:9 aspect ratios, and a 4:3 photo held upright is 3:4, the tallest shape Instagram keeps. So shoot portrait, at 4:3, and leave a little space around the dish in case you want to crop or add your logo later.
Edit lightly, and the same way every time
Most food photos need about four small adjustments, and none of them is a filter:
- Straighten and crop.
- Lift brightness or exposure a touch if it's dim.
- Cool the warmth slightly if indoor bulbs have turned things yellow.
- Lift the shadows a little so dark sauces don't turn into black holes.
That's usually it. Push saturation too far and greens go radioactive and meat turns orange. A decent test: if a guest would be surprised by the colour of the dish when it arrives, you've gone too far.
Whatever edit you settle on, do the same one every time. Same app, same adjustments, roughly the same amounts. Think of it as a house style for your photos.
How to make your restaurant food photography look consistent
A feed looks professional when the photos look related, and you get there by repeating the same set-up. Use the same table and the same window, at roughly the same time of day, with the same angle for each kind of dish and the same light edit afterwards.
The easiest way to keep that up is a fixed slot. Say Tuesday at 11am, before lunch service, when the light's good and the kitchen has a minute. Any new dish gets photographed then. When you're launching a new menu, shoot every new dish in one session so they all match. Cafes can do the same with bakes and drinks; there are plenty of ways to use them in these coffee shop Instagram ideas.
Keep the results in one shared library, sorted by dish, so whoever's posting can find a good shot quickly. The same photos will do for your Google Business Profile too, and guests' own pictures can fill the gaps if you ask permission first (the guide on reposting customer photos covers how). If you use Venuesmith, it picks a photo and a layout for each post and adds your branding, so a library of consistently shot dishes makes every post look like yours.
A ten-minute shoot before service
- 01Set the spotWindow table, overhead lights off, a white menu card opposite the window to fill in shadows.
- 02Clean the lensGlasses cloth, not your apron. Check the preview for haze around bright spots.
- 03Plate one for cameraWipe the rim, build a little height, add garnish last.
- 04Shoot three anglesOverhead, about 45 degrees and straight on, a few frames each, in portrait at 4:3.
- 05Lock focus and exposureTap the best bit, nudge exposure down if white plates glare, then hold to lock.
- 06Edit and fileSame light edit as last time, then save it in the shared library under the dish name.
Frequently asked questions
What's the best phone for restaurant food photos?
The one you already have, as long as it's from the last few years and the lens is clean. Light, angle and plating make far more difference to food photos than the model of phone. If you're choosing between phones anyway, a second lens with 2x or 3x zoom is useful for food, because it lets you step back and avoid the distortion you get shooting close up.
Should I use portrait mode for food photos?
Sometimes. Portrait mode blurs the background, which can work nicely for drinks, burgers and anything shot straight on. It's less useful overhead, where everything is roughly the same distance from the lens. Check the edges closely before posting, because the blur can catch the rim of a glass or the edge of a bun and make it look smudged.
What size should restaurant photos be for Instagram?
Instagram's help centre says it uploads photos at up to 1,080 pixels wide and keeps their original resolution when the aspect ratio is between 1.91:1 (landscape) and 3:4 (portrait). At 1,080 pixels wide that means a height between 566 and 1,440 pixels. Anything outside that range is cropped, so a 3:4 portrait photo gives you the most room.
Is it worth paying a professional food photographer?
For some jobs, yes. A professional shoot makes sense for your website, a big menu launch or printed material, where the photos will be used for months. For week-to-week Instagram and Facebook posts, phone photos taken in good window light are usually fine, and they keep up with specials and seasonal changes in a way a twice-yearly shoot can't.
How do I photograph food in a dark restaurant?
Move the plate to the brightest spot you have, usually a window table, and shoot before evening service while there's daylight. If that's impossible, one lamp or a small LED panel placed to the side of the dish works far better than the flash. Keep the phone steady, tap to focus on the main item, and avoid mixing coloured bulbs with other light sources.
Sources
- Image resolution of photos you share on Instagram, Instagram Help Centre, checked October 2026
- Use iPhone camera tools to set up your shot, Apple Support, checked October 2026
- Change advanced camera settings on iPhone, Apple Support, checked October 2026